Beginner's Guide
Welcome, fighter. This guide walks through the core systems of Stickman Fighter in the order most players learn them. If you've played any 2D or 3D fighter before, the muscle memory transfers almost cleanly — what's different here is the wave-based stage structure and the Ki gauge.
1. Movement Comes First
Almost every match is won or lost on positioning. Before you learn a single combo, get comfortable with all six movement options:
- Run — hold ← or →. Movement is fastest on the ground.
- Depth move — ↑ and ↓ shift you in or out of the plane. Use this to dodge linear projectiles like Ki Blasts.
- Jump — Space. Tap a second time mid-air for a double-jump.
- Air dash — Shift while airborne, once per jump. Useful for surprise approaches after a double-jump.
- Dodge roll — Shift on the ground with no direction held. Fully invincible during the roll animation.
- Directional dash — Shift + ←/→. Closes the gap fast but is not invincible.
2. The Four Attack Buttons
Stickman Fighter uses a Tekken-inspired 4-button system. Each button maps to a limb, not a strength tier:
- W — Left Punch (LP): fastest startup, low damage.
- E — Right Punch (RP): medium speed, good combo filler.
- S — Left Kick (LK): covers low-and-mid range, great poke.
- D — Right Kick (RK): heaviest single hit, slow recovery.
Combine these with a direction (e.g., → + E) for unique commanded moves, or chain them sequentially (W → E → D) for a target combo. Two buttons pressed simultaneously trigger paired-input specials like throws and guard cancels.
3. Blocking and Guard Break
Hold A to block. Blocking reduces incoming damage by 70%, but a small "chip" amount still applies. Two things will defeat a block:
- Guard break moves — special hits flagged with
guardBreakin the move data. The block bar shatters and you take full damage plus a stagger. - Throws — initiated with a punch + kick simultaneous input. Throws are unblockable but have very short range.
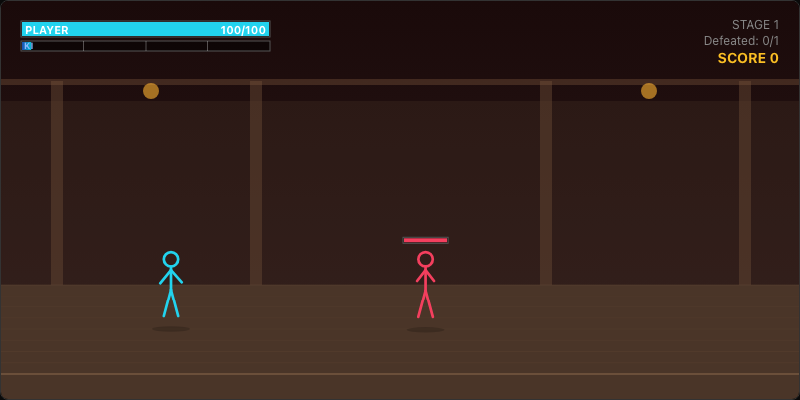
4. The Ki Super Gauge
At the bottom of the screen sits the Ki gauge. It fills automatically over time, but the fastest sources are:
- Dealing damage — 0.5× the damage dealt is added to your gauge.
- Taking damage — 0.3× the damage taken (rivals can charge you up too).
- Blocking — 0.2× the damage blocked.
- Holding Q — 15 gauge per second while charging. You are immobile and take 1.5× damage during the charge, so charge at safe ranges.
The Six Special Moves
- Ki Blast (25%): a fast straight projectile. Easy to mix into footsies.
- Power Blast (40%): slower, heavier projectile that pierces one enemy.
- Energy Dash (35%): an invulnerable forward dash that lands a heavy punch on contact.
- Ki Burst (50%): omnidirectional AoE around the player. Great oki-tool.
- Super Beam (75%): a sustained anchored beam that pierces and stuns.
- Dragon Fist (100%): the ultimate. A massive Ki-empowered punch that launches a screen-wide blast on impact.
5. Combos and the Multiplier
Each hit during a combo increases your combo counter and combo multiplier. The multiplier ramps from 1.0× toward a cap of 3.0× over consecutive hits. The combo ends when the enemy fully recovers, when you whiff for too long, or when you get hit.
Don't grind for max combo on stage 1 — the multiplier multiplies score, not damage, so the stakes are about the final score breakdown shown at stage clear.
6. Stage Clear & Scoring
The end-of-stage bonus is computed from four factors:
- Base bonus — fixed amount per stage.
- HP bonus — scales with remaining health.
- Combo bonus — scales with the highest combo recorded.
- Time bonus — faster clears earn more.
Your top five scores are saved to your browser's local storage. Clearing site data resets them.
Where to next?
Read the Moves reference for the full command list, or dive into Boss strategies if you've already cleared a few stages.